
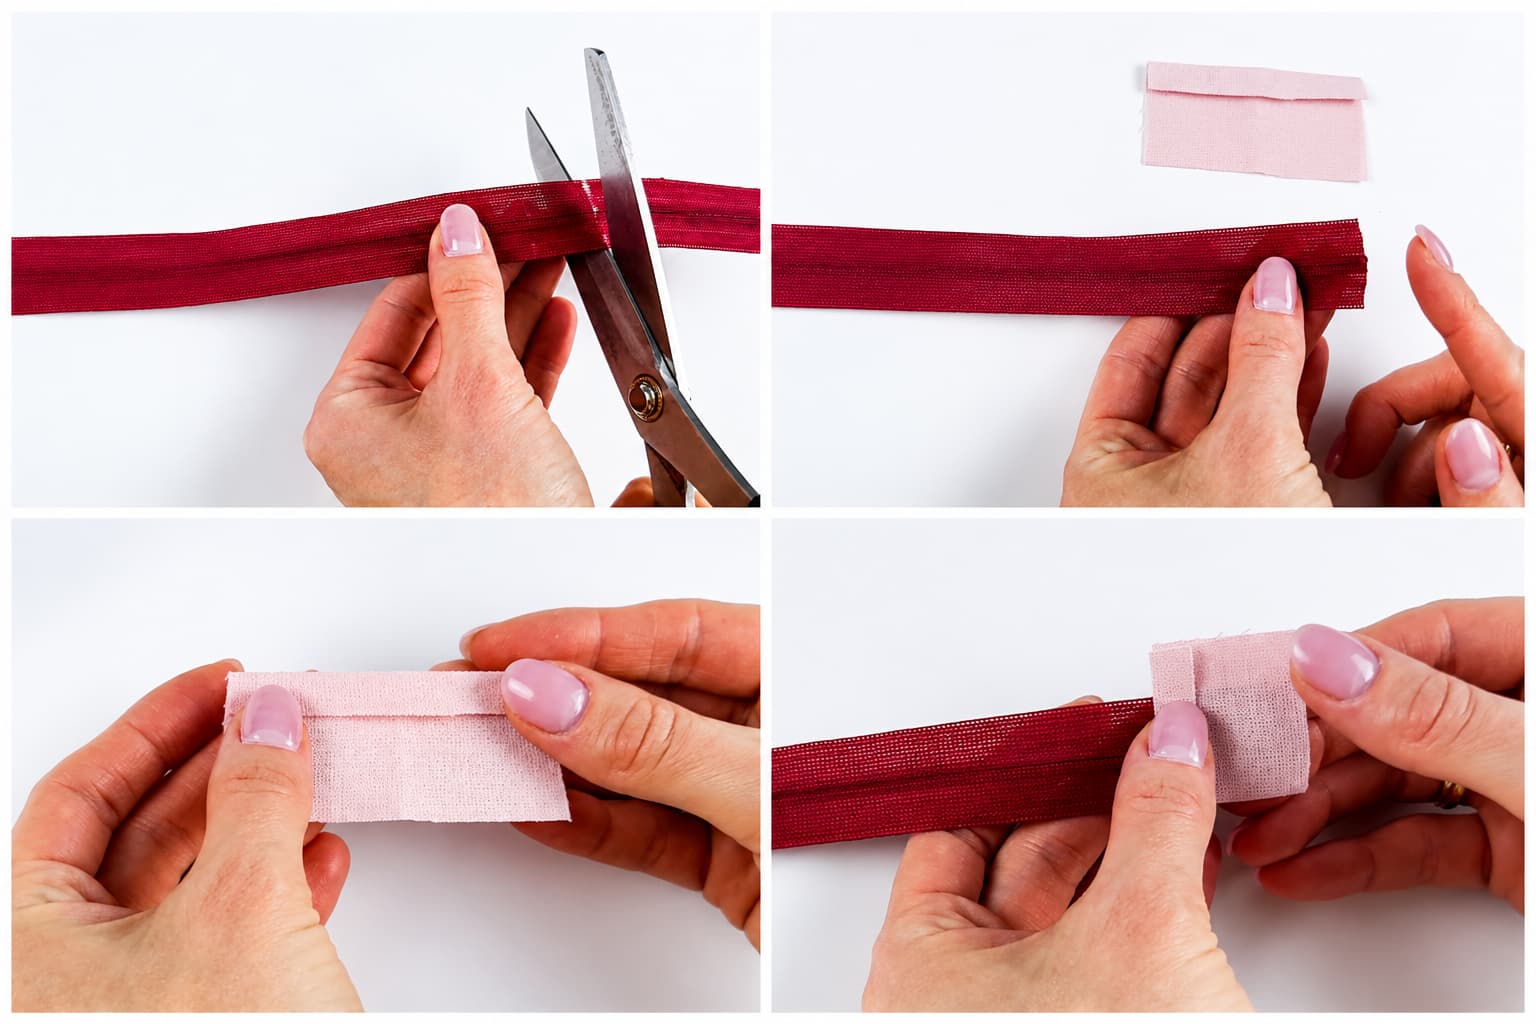
How to Shorten a Zipper: 2 Easy Methods for Sewists
Finding a zipper in the exact color and length you need isn’t always easy. You need a 6-inch (15 cm)
Binding a neckline with bias binding is one of the most common ways to finish a raw neck edge. You’ll see it on t-shirts, blouses, and dresses alike. In this tutorial, we’ll walk through binding a neckline on a blouse made from lightweight dress fabric. First, we’ll measure and prepare the binding strip. Then, we’ll walk through every step up to the final press.
The binding is a strip of fabric used to finish the raw edge of the neckline. In this tutorial, it’s cut on the bias. Usually, it’s cut from the same fabric as the garment. However, some designers choose a contrasting fabric for a pop of color — that choice is entirely up to you.
Bias-cut binding is the standard choice for curved edges like necklines and armholes. Because it’s cut diagonally across the grain, it has some natural stretch. As a result, it eases smoothly around the curve without pulling or puckering.
Our sewing patterns already include a ready-made binding piece, so you won’t need to draft one yourself. But if you’re working from a pattern without one, here’s how to size it:
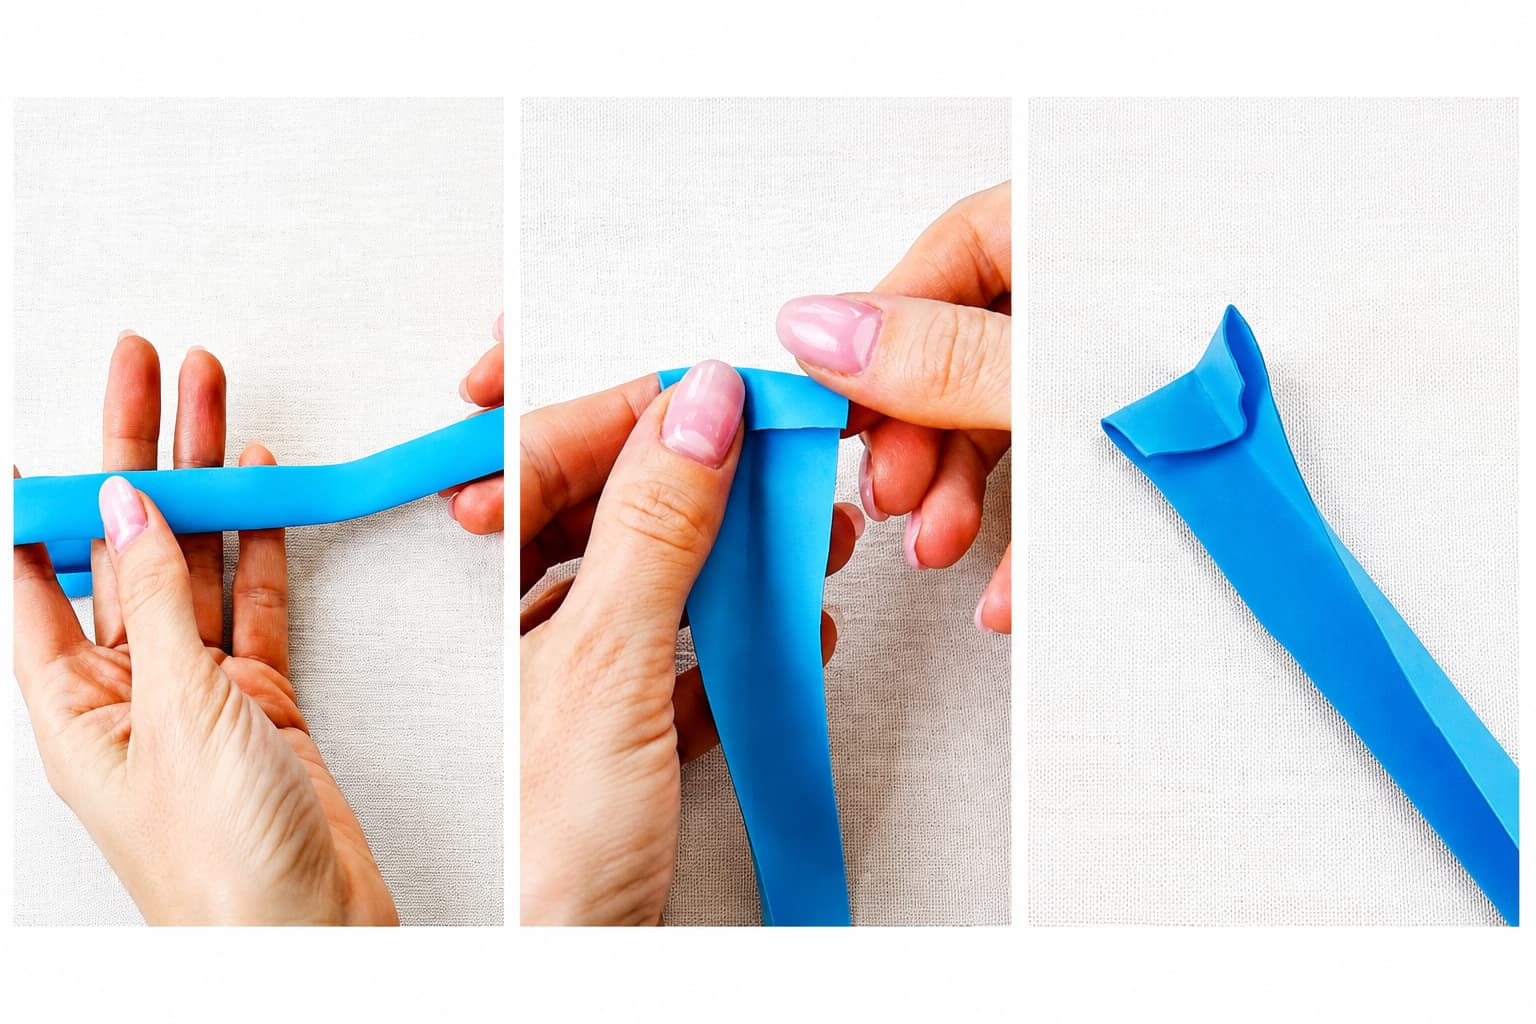
First, fold the binding strip in half lengthwise and press. Then, press both short ends in by about 1 cm (⅜ in). This keeps the raw ends from fraying. As a result, you won’t need to finish them separately.
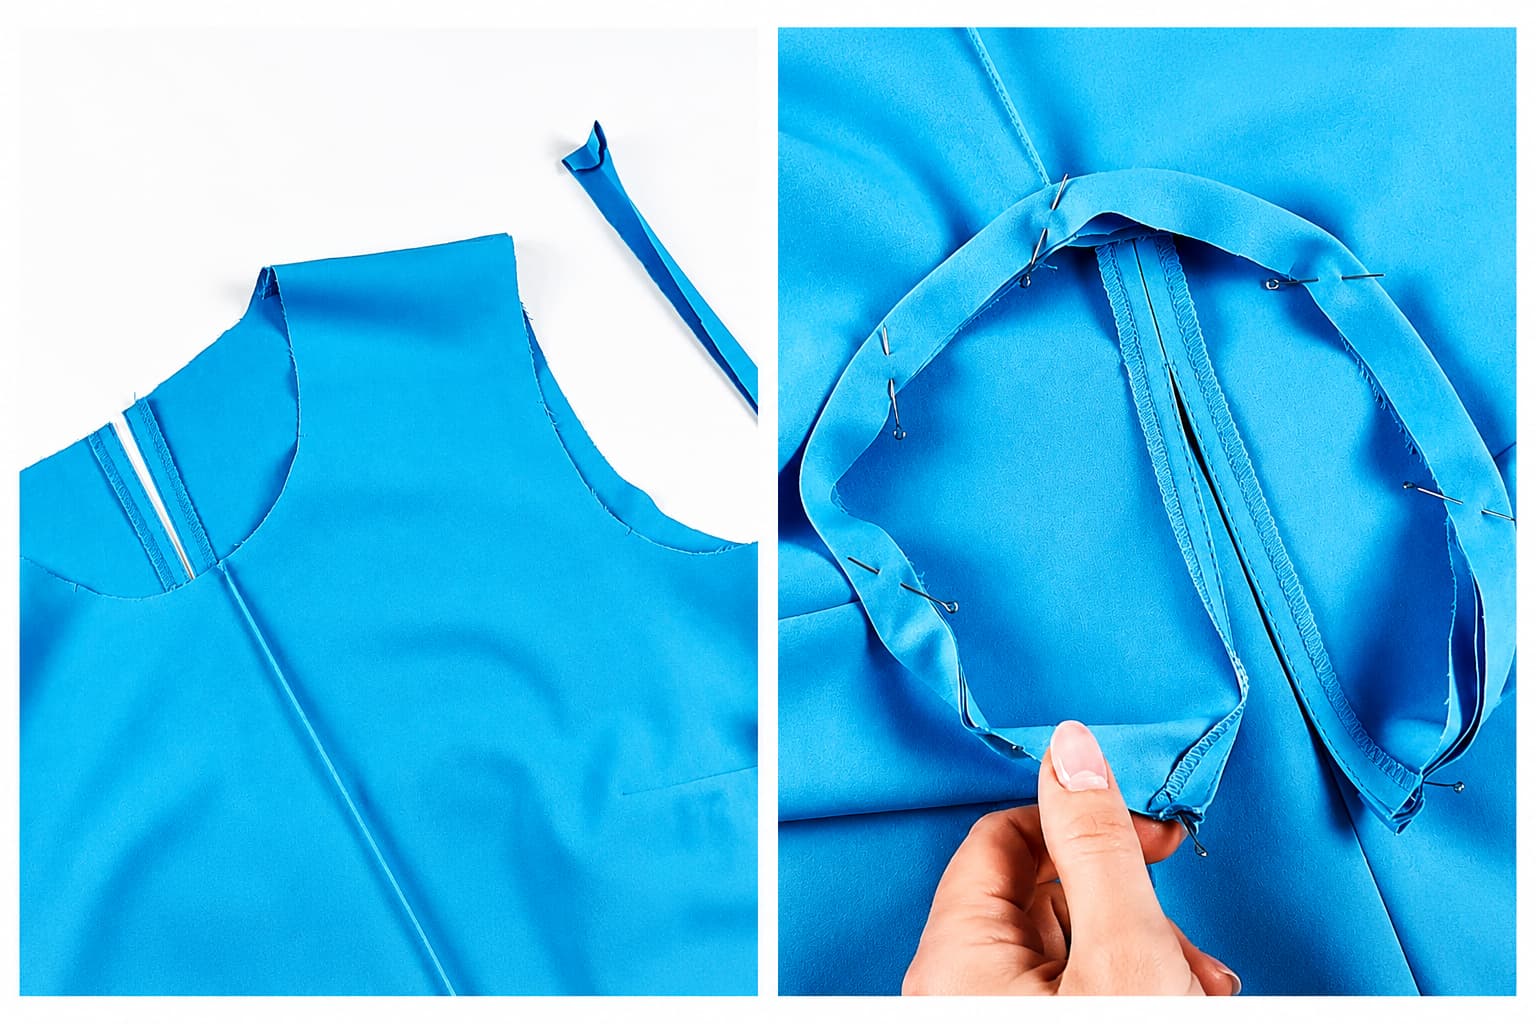
Pin the binding to the right side of the garment. Our patterns include notches — matching points marked on both the neckline and the binding. Simply line them up with each other. So, if you’re sewing from one of our patterns, just match up all the notches. Then the binding will sit evenly, without any extra calculations.
Stitch about 5 mm (¼ in) from the raw edge, sewing the binding to the neckline.
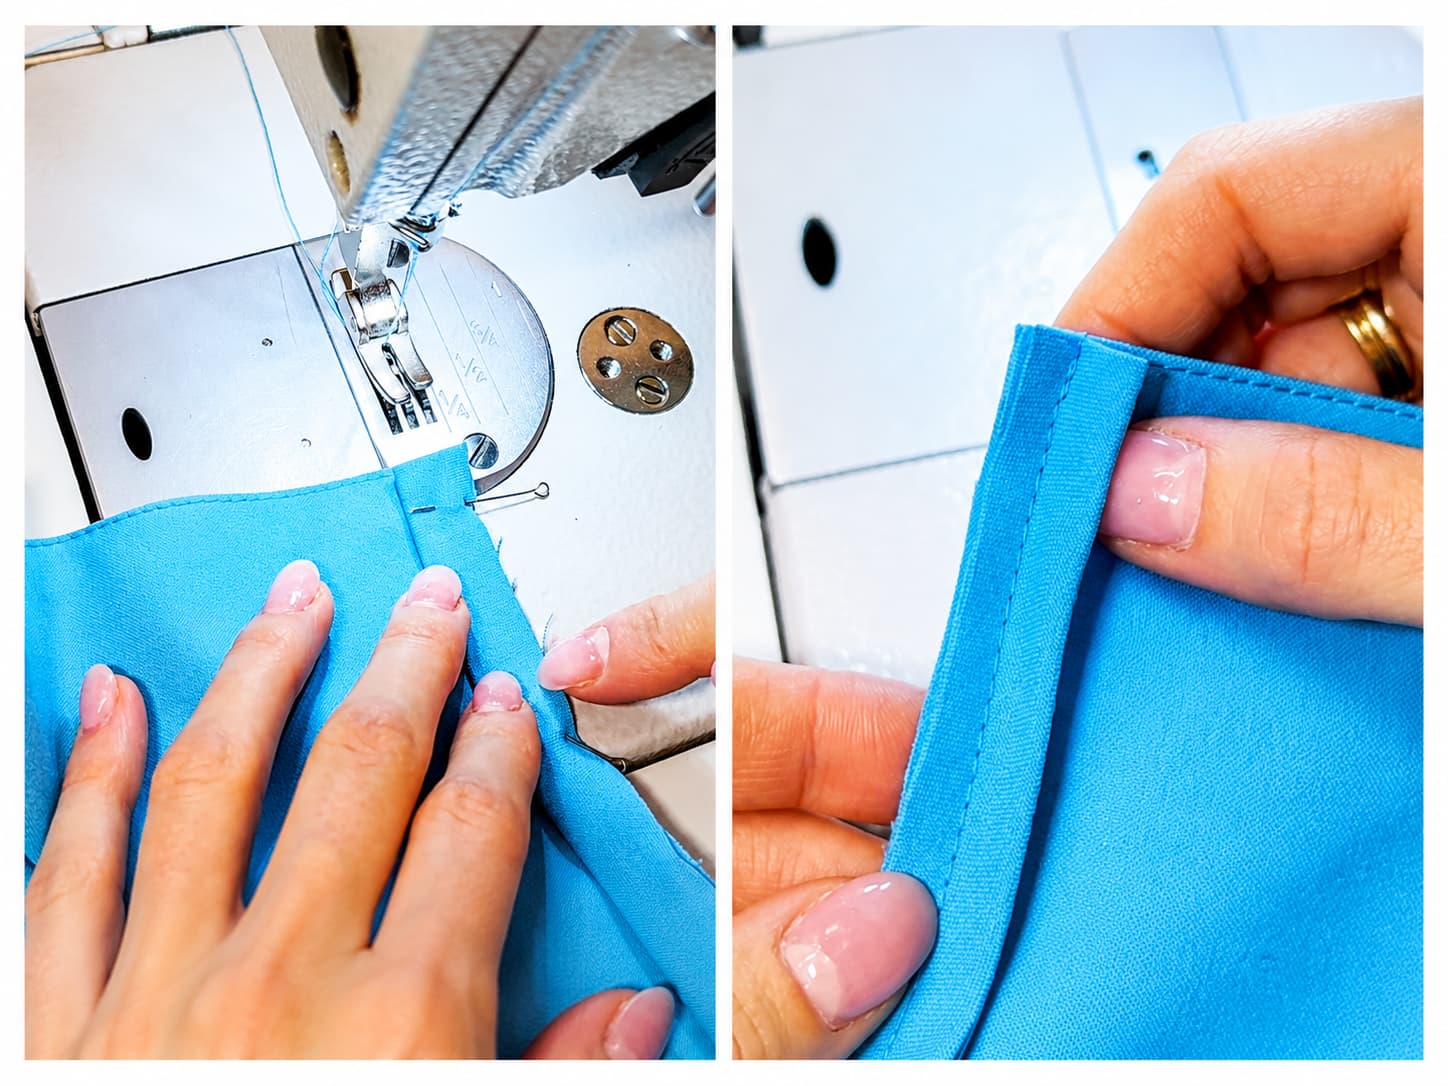
Fold the binding toward the wrong side and topstitch about 1 mm from the attaching seam, all the way around the neckline.
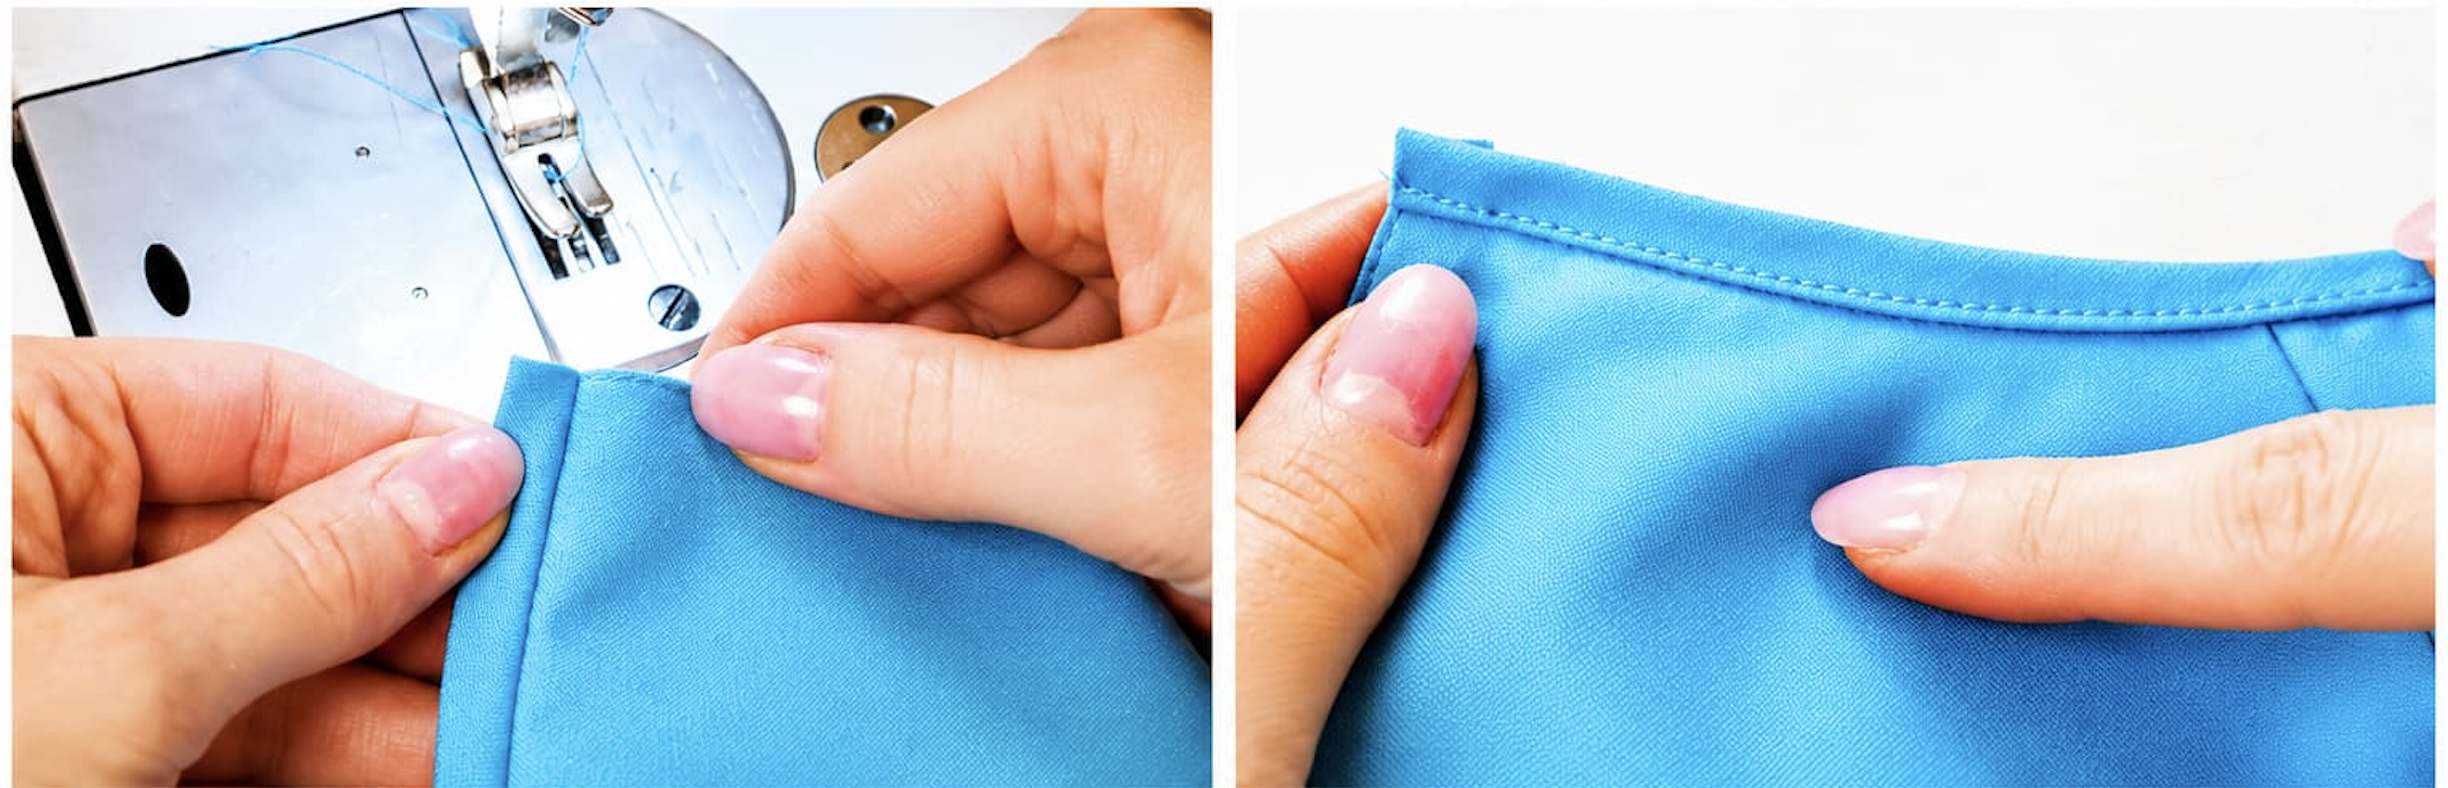
Give the binding a final press so the seam rolls slightly toward the wrong side and doesn’t show on the right side of the garment.
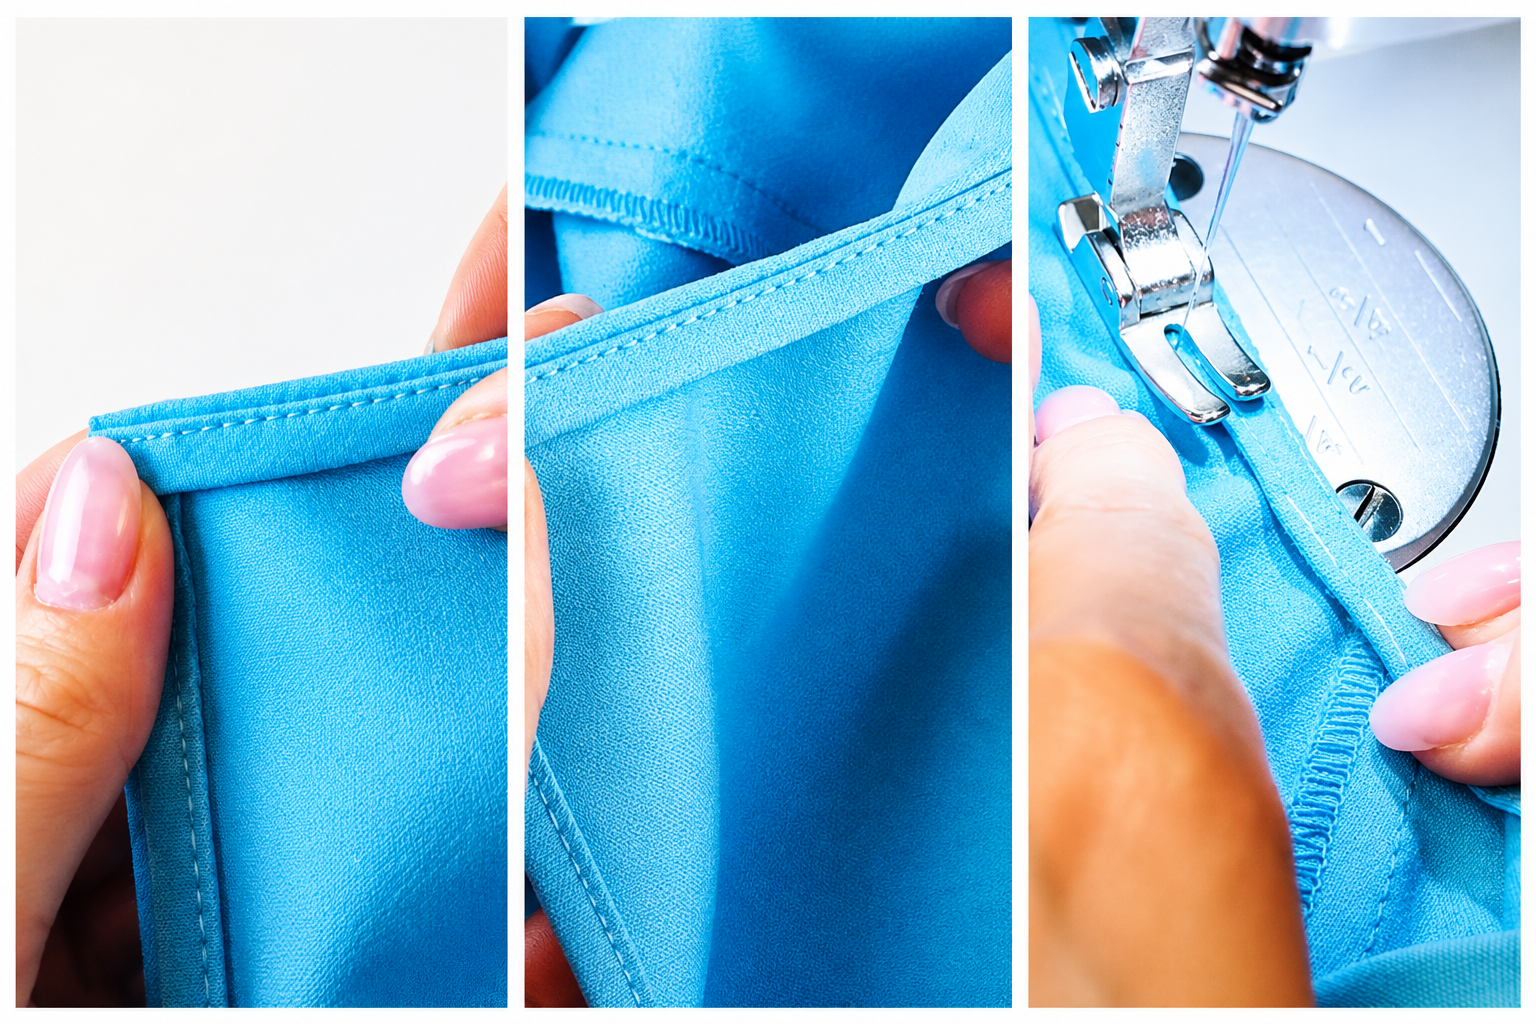
Sew a final line of stitching to anchor the binding in place — this keeps it from rolling or shifting during wear and washing.
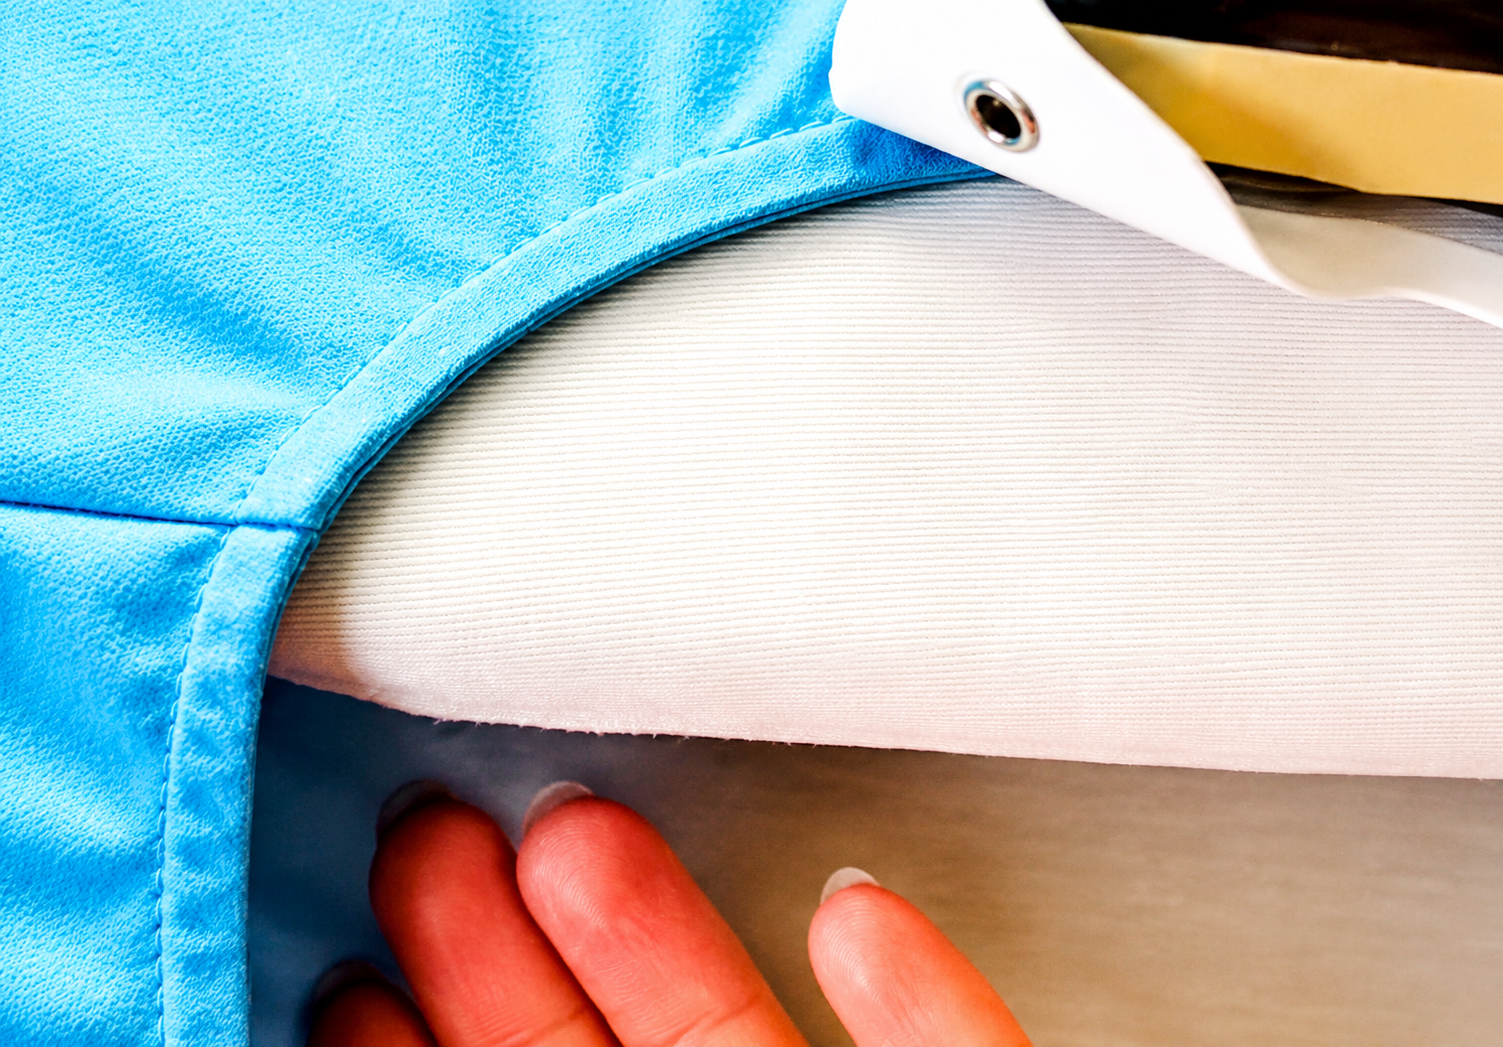
The final steam press is one of the most important steps for a garment that looks professionally made. When pressing the neckline, be careful not to stretch the seam: press with light pressure, moving the iron top to bottom rather than dragging it along the length of the seam.
Finding a zipper in the exact color and length you need isn’t always easy. You need a 6-inch (15 cm)
No account yet?
Create an Account